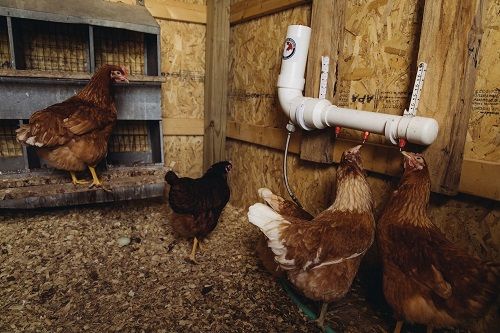
Incubation 101

Interested in hatching your flock this summer?
Hatching baby chicks in your own incubator is not only easy—it’s a ton of fun and a great learning experience for children with the right equipment and if you follow a few simple guidelines.

How to choose an incubator
Affordable incubator technology has come a long way. Today, a quality digital incubator that will hatch up to a dozen eggs costs around $150—below that price, be wary of the safety of the unit’s electric components.
An accurate temperature control is paramount so look for an incubator with reliable electronic temperature control and a fan to circulate the air and maintain an even temperature.
Next, look for incubators made from impervious materials such as plastic and with simple turning mechanisms which are designed for easy cleaning.
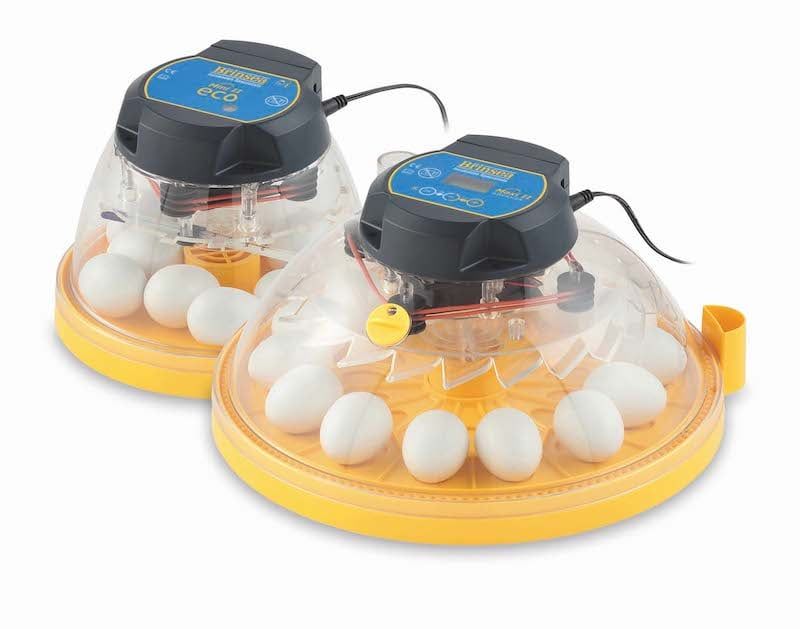
Finally, while you can manually turn your eggs, bear in mind that eggs need to be turned at least three times a day so you may want to consider an automatic turning egg incubator. Some fully digital models like the Brinsea Mini and Maxi Advance even count down to hatch day and automatically stop the turning two days prior.
The number of eggs you would like to hatch in one batch and the type of eggs a specific incubator can hold are also important considerations.
Source high-quality fertile eggs
Once you have a quality, easy-to-clean incubator, you will need fertile eggs. Grocery store eggs will not hatch! If you already have a flock of healthy hens and a rooster, you’re all set.
No rooster? It’s best to source your fertile eggs locally. They will be fresher and their chances of hatching won’t have been compromised by jostling and extreme temperatures during shipping.
Eggs can be stored up to a week provided they are kept cool (around 55°F. with 75% humidity), stored pointed end down, and turned once a day.
Misshapen, cracked, or dirty eggs should not be set in an incubator.
Set up your incubator ahead of time
Read the user manual and run the incubator several days before setting eggs to ensure everything is working properly. Room temperature should always be between 68°F. and 78°F. and the incubator kept out of direct sunlight to get the best results.
Allow eggs to warm up to room temperature before setting them and make sure that you don’t adjust the temperature for 24 hours.
Finally, don’t forget to regularly check the water reservoirs, following the manufacturer’s recommendations, to achieve the correct humidity level.
Now you’re all set to let nature take its course. An incubator will not hatch faster—chicks still need 21 days!
Importance of temperature and humidity
In order for the fertilized eggs to develop correctly, they need to be kept at the correct temperature, turned often, and positioned correctly. Eggs breathe and lose water through the pores of the shell so they also need fresh air and the right humidity level.
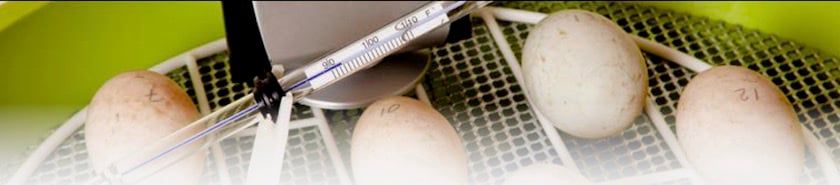
Accurate incubation temperature is by far the most important factor for successful hatching. Small changes in temperatures can cause eggs to develop too fast or too slow which could result in deaths or deformities.
The correct temperature for most species is 99.5°F. when using a forced draft incubator. However, there are incubators without fans and if you are using one, the temperature should be set at 103°F because hot air rises.
Incorrect humidity is one of the main causes for poor hatching success because it is the most difficult to measure and control accurately. Humidity is important only to achieve the right balance between excessive dehydration and space within the egg to allow the chick to maneuver into hatching position.
Humidity is affected by evaporation from the eggs themselves and the incubator water reservoirs. All incubators have water reservoirs and ventilation holes, and some have digital humidity displays and ventilation controls.
Top-of-the-range digital incubators like the Brinsea EX models even have fully automatic humidity control.
Humidity levels are typically measured in % Relative Humidity (% RH) but sometimes you will see it quoted in Wet Bulb Temperature and those should not be confused as the effects could be devastating.
Ideal humidity during incubation is 40-50% RH for poultry and gamebirds (78-82ºF wet bulb temperature) and 45-55% for waterfowl (80-84ºF wet bulb temperature). If the humidity is too high, you will need to increase the ventilation or if the incubator does not have a ventilation control, remove water. Conversely, if humidity is too low, you will need to reduce ventilation and add water.
Humidity at hatching time needs to be higher than during incubation, at least 60% RH to prevent the membranes of the egg drying too fast as the chick hatches and becoming tough and difficult to tear.
Turn, turn, turn
Like temperature, turning directly affects hatch rates. As the embryo develops on the yolk, it causes the yolk to become lighter and float upwards. When the egg is turned, the embryo moves downwards into fresh nutrients in the white of the egg allowing the embryo to develop.
Most modern incubators turn the eggs automatically using different systems such as rotating disks, moving floors, egg carriers or tilting shelves. Regardless, eggs should be placed on their side or pointed end down but never large end down as this causes inverted hatches.
If you are turning eggs manually, mark each egg with and X on one side and O on the other with a pencil and turn them from one die do the other a minimum of twice a day.
Turning should be stopped two days prior to when the chicks are scheduled to hatch. Certain models with the automatic turning setting will also stop turning the eggs two days before they are due.
Candle your eggs for fun while you wait
Candling involves shining a bright light through the shell, helping you monitor fertility and embryo development. Actual candles were once used, thus the name, but modern candlers are usually LEDs—they are very bright, efficient, and don’t emit heat that might damage embryos.

Some like the Brinsea OvaScope can be used anywhere (not just darkened rooms) and can be hooked up to a webcam.
Eggs may be candled after 5 days of incubation and every few days thereafter. At 5 days, you will be able to see a small embryo and a web of blood vessels radiating from it. As the chick grows it will be hard to make out details, but you should still be able to see movement.
Candling will also help identify and remove non-viable eggs that could contaminate your hatch with germs. It takes a little practice to become confident about which eggs are dead and which are healthy, but don’t discard any eggs if you are unsure—take another look a few days later before deciding.
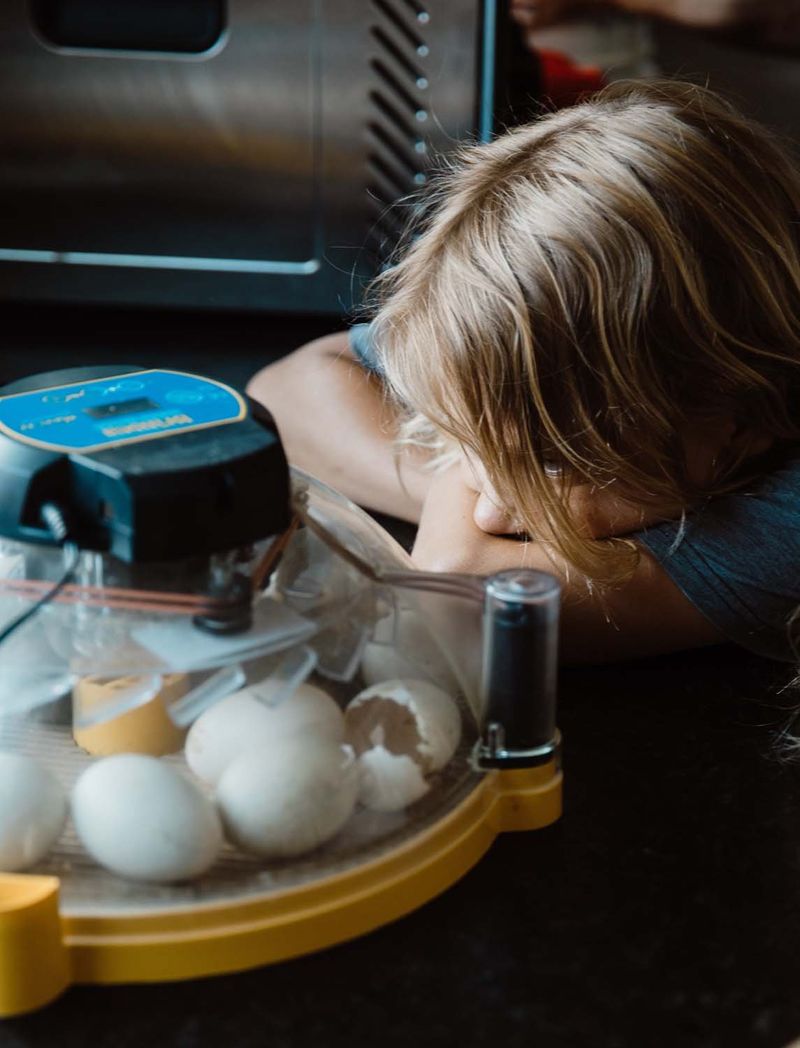
The magic of hatching
Two days before the eggs are due to hatch, stop turning and make sure the water reservoirs are well topped up. Humidity needs to be high during hatching, so don’t open the incubator.
Hatching takes time—24 hours or more from the first bump on the shell until the chicks emerges all wet and exhausted. Be patient! Don't be tempted to help the chicks from their shell, and don’t transfer them under a brooder until they are fully fluffed up. Otherwise, they could chill.
With a little patience, you will be rewarded with little bundles of fuzzy cuteness that nobody can resist.
Want more information?
Download Brinsea’s FREE incubation handbook:
brinsea.com/Brochures/BrinseaIncubationHandbook2016.pdf
Or, visit brinsea.com or call 1-888-667-7009 for more information.
Link to Mini Maxi incubators http://www.brinsea.com/c-85-minimaxi-incubators.aspx
Link to Ovascope https://www.brinsea.com/p-533-ovascope-egg-scope.aspx
Tags:Hands-on Help


Chicken Whisperer is part of the Catalyst Communications Network publication family.