How to Process Chickens At Home

Four steps to success
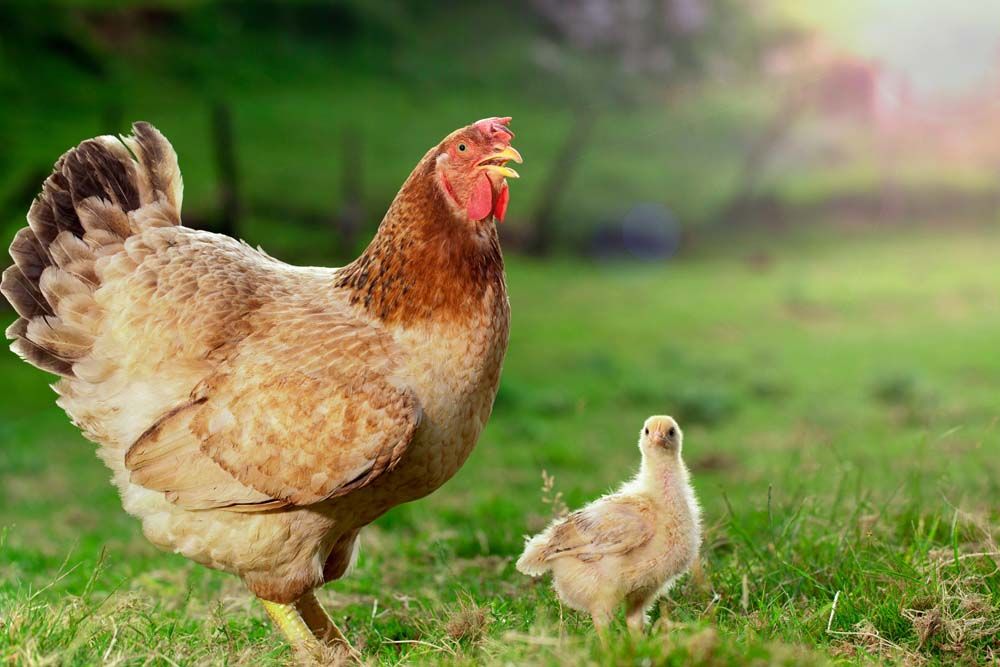
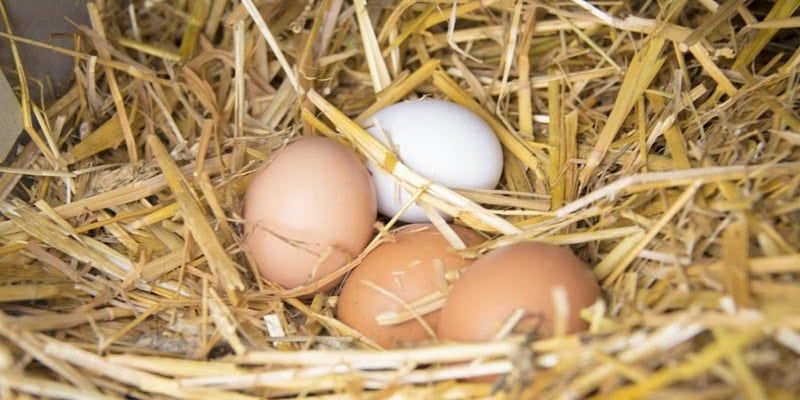
Have you ever eaten home-raised chicken? If not, then get ready for a rewarding experience. If you have sustainability on your mind, then you may wish to consider raising your own meat chickens. It is easy to do and will yield fresh food that your family and friends will enjoy. The most daunting part of raising your own chickens for meat is learning how to process them. This article aims to show you both the simplest methods, as well as explain tools that will help you make the process both cleaner and faster.
The accepted term for harvesting, slaughtering, or butchering chickens is called processing. This is due to the specific steps—or processes—that go into creating a finished carcass.
There four basic steps to process a bird include:
- Removing the blood
- Removing the feathers
- Taking the organs out
- Chilling the carcass
Before processing your chickens, you will want to remove feed no less than four hours prior to processing. This will help empty the intestine and reduce the risk of breaking the intestines during step three. You will also want to keep water in front of the birds until about an hour before processing. The only exception to this rule would be during periods of extreme heat where the birds may become uncomfortable without fresh, cool, and clean water.
1. Removing the blood
This is the first step, and, if you like to do things like grandma or grandpa did, then you should go sharpen the axe. You can remove the head, but I recommend restraining the bird so it doesn't jump around after head removal—you don't want to bruise that meat. If you hang the bird upside down and just nick the carotid artery by cutting the neck just behind the ear, then the bird’s heart does the work of pumping the blood out of the body. You want to avoid leaving blood in the body because the meat will be left with a strong metallic or iron taste. Use a short, sharp knife for this step.
As the bird is being bled out, you can pith the bird. Pithing is when you take a sharp knife and plunge it into the bird’s brain through the roof of its mouth. This is done by inserting the knife into one of the slits in the roof of the mouth and aiming toward the angle of the eye. Once the blade is in the brain, give the blade a twist to hopefully contact with the hypothalamus. If done well, sometimes the hypothalamus is hit and the bird may release all of its feathers, making the next step easier.
To take this to the next level, consider making or investing in a killing cone. This holds the bird upside down for bleed out while restricting the movement. Again, this relates to preventing any opportunities for bruising the meat after you spent so much time and energy raising your flock. If you are really serious about doing a lot of birds, then you may wish to invest in a stun knife which renders the bird unconscious before bleed-out. The blood can be collected and disposed of in a compost pile, or washed down the drain.
2. Removing the feathers
Nobody wants to eat the feathers, much less see them left on the bird. We are spoiled here in the U.S. because we don't see grocery store chickens with feathers on the carcass. To do a good job of removing the feathers, you will first need to scald the bird. Scalding in hot water loosens the feathers and makes plucking easier.
Over-scalding is when you begin cooking the skin. This happens when you use water that is too hot or you scald the bird for too long.
Scalding can be done with a big pot of water. Immerse the whole bird, feet included, then use a spoon to agitate the bird. You'll need a thermometer that can read a temperature of between 125°F to 130°F for 90 to 120 seconds, which is considered a "soft" scald.
Pull a leg out and test the scald by pinching the scales on the toe to see if they release. If so, then pull the birds out and start plucking. Work by pulling the feather backwards from their natural direction. Many home-processors eventually invest in a mechanical chicken plucker to cut down on the amount of time plucking takes.
Don't forget to remove the scales and toenails on the legs too. If you have a propane or butane torch, then you can briefly singe the tiny hair-like feathers that remain after plucking the whole bird. White feathers, if they accidentally remain on the carcass, are less visible than colored feathers. Feathers can be added to your compost pile or disposed of in your regular trash.
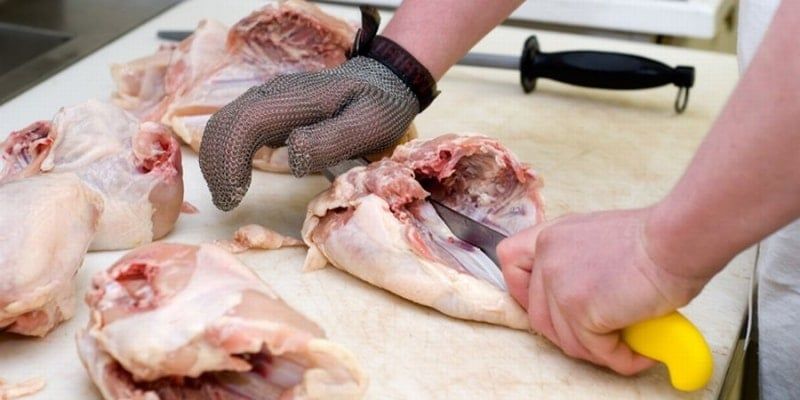
3. Taking the organs out
If you do not remove the organs, and leave the head and feet attached, then you have what is called a "New York" dressed chicken, commonly found in Asian markets. However, most folks in the U.S. prefer to remove the intestinal tract and related organs. Keep in mind that a bird, freshly killed, will still be warm inside.
First, you will want to carefully cut the skin in a circle around the vent using the side of a sharp knife. Using the point of the knife at this step increases the risk of nicking the intestines and spilling intestinal contents all over the inside and outside of the bird. If you should accidentally break or nick the intestines, then you will need to clean the bird so that no feces are visible before the carcass goes into the chiller. You will also need to clean the workspace and knives.
Once the vent has been released from the rest of the skin, then widen the opening with your fingers. Turn the bird around and work on the head end of the bird. Remove the head using a pair of sharp chicken shears. Run the knife up through the skin along the back of the neck to avoid hitting the esophagus and larynx. Pull back the skin and locate the esophagus. It is the soft tube along the front of the neck, whereas the hard tube is the larynx. Grab the esophagus and work it loose from all of the surrounding tissues. Then work toward the crop and carefully loosen it from the skin and all surrounding tissues.
Honestly, this is the hardest part—most people don't realize how strongly the crop is attached to the other tissues. Work carefully, but use a firm touch. Reach into the neck cavity and loosen all the tissues inside so that the crop will be pulled smoothly into the body cavity when you pull on the intestines from the vent. Once loosened, you will be pulling from the vent. The crop and esophagus, as well as all other attached organs, need to slide out with almost no resistance. Remove the larynx and lungs as well as the reproductive organs. The lungs are bright pink and are wedged in between the ribs. Use your fingers to gently remove and discard them.
Flip the bird back to the vent end and reach inside along the breast plate to grasp the heart. This is considered a giblet and can be set aside for later. Pull out the intestines and separate the liver as it is also a giblet. Make sure that you do not nick or break open the gall bladder which is the small green sack attached to the liver. The bile within the gall bladder will stain your hands, your clothing, the carcass, as well as your work surface. You can also cut the gizzard out of the intestines as it is also a giblet. Discard the remaining sections of the intestine.
Using the poultry shears, cut the neck off of the carcass as close to the shoulders of the bird as possible. Keep it for use in soup stock. Cut the top part of the heart off where the veins and arteries enter and exit. Squeeze out any blood that may have coagulated within the heart. Cut open the gizzard and wash out any remaining feed or other contests. You will notice a thick leathery yellow lining which is called koilin. This will need to be peeled free from the rest of the gizzard and discarded. Wash the gizzard thoroughly. Remove and discard any excess ducts as well as the gall bladder from the liver. Save all of your giblets and the neck separately in a small plastic bag or other container as they are great for adding to soup stock or gravy.
Flip the carcass onto the breast and look at the tail of the bird. The preen gland will need to be removed or it can impart a strong flavor to the carcass. At the head end of the gland, use a knife to cut straight down the bone and then scoop the gland out by sweeping the blade back toward the tail. Discard the preen gland. Remove the feet, otherwise known as paws, at the hock joint, which is the joint where the skin and scales meet. These can also be used to make a wonderful soup stock as long as there are no lesions caused by ammonia anywhere on the foot pad or toes. Wing tips can also be used in soup stock.
4. Chilling the carcass
Before adding the carcass to a chill bath, you will need to vigorously wash it out on both the inside and outside with clean water. You should not see any visible fecal material on either the inside or the outside of the carcass.
Before processing your chicken, you will need to prepare an ice water bath. Use a bucket, bin, or ice chest large enough to immerse a whole bird or multiple birds. The chicken will need to remain immersed in the chill bath for up to four hours. This helps the muscle fibers complete rigor mortis in a timely manner and you will end up with tender muscles rather tough ones. However, since the meat chickens are typically younger, the meat will be automatically more tender than an old hen. During these four hours, you will want to continue adding more ice as needed to ensure that the thickest part of the meat (usually the breast) drops below 40°F. Use a thermometer to make this measurement directly into the breast muscle of the bird.
Once chilled, let the chill water drain and place the carcass in a resealable plastic bag. Keep the carcass refrigerated or place it in the freezer until it is time to prepare it for the table. I hope that you now understand the method of processing a chicken for your home consumption. Ask your local poultry extension specialist for help the first time or consider going to a poultry processing class so that you can gain experience. From there, it is up to your imagination to create a wonderful chicken dinner for all to enjoy.
Equipment checklist
Processing 101 tools:
- Two sharp knives: one for bleeding, one for removing the organs
- A pair of sharpened chicken shears
- A pot of hot (not boiling) water
Processing 102 tools:
- A killing cone
- Pithing knife
- A plucking machine
- Lung scraper
Processing 103 tools:
- Stun knife
- Scalder
Tags:Healthy Flock


Chicken Whisperer is part of the Catalyst Communications Network publication family.